Hi all!
It's been a few months since I did an update on my hobby studio build, so here's the final chapter on this year-long project.
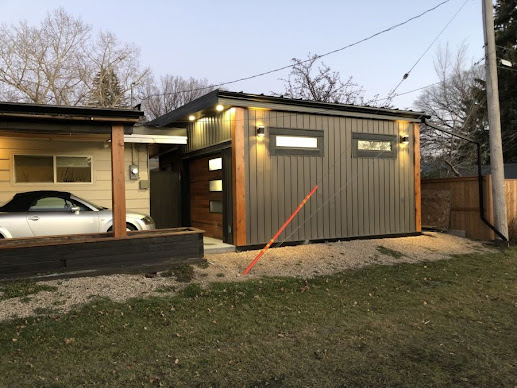
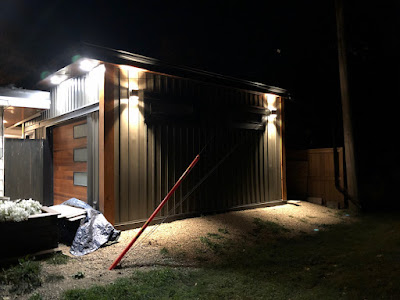
When I last reported the siding was just installed, which I think looks quite good, especially considering we had pretty much forgotten what we had ordered with the litany of Covid-reasoned shipping delays.
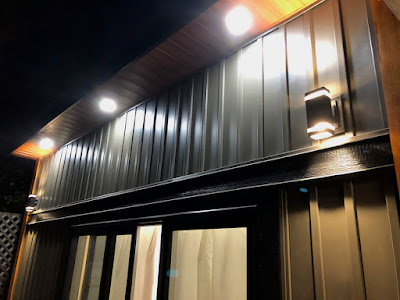
Next up was the exterior lighting. I went with two sets of two LED sconces, both along the exterior facing the greenspace, and illuminating our interior courtyard. For further safety and security, I augmented the sconces with a few small motion sensitive LED potlights installed in the eaves.
As we were heading into cooler weather, I was very keen to get the interior fully insulated, drywalled and painted, so late August was a very busy month taken up with these tasks.
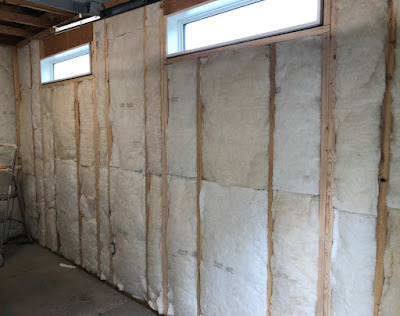
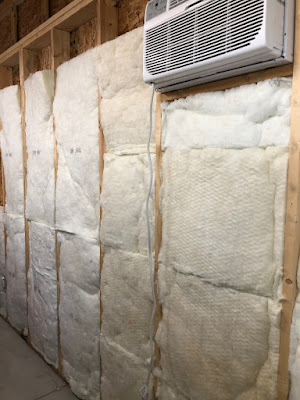
First, we put in R24 batt insulation into all the vertical wall spaces.
I also installed a in-wall split air conditioner/heater. It will be handy for those hot summer days (we had a LOT of those this year), and will help augment the heat during the winter.
Unlike the nasty old pink insulation, this stuff wasn't too itchy and went in fairly quickly.
Then came the vapour barrier...
...the (incredibly heavy) drywall...
... and the taping, mudding and (super dusty) sanding.
After a coat of primer, I painted the walls with four coats of a fairly innocuous pale yellow.
After the paint dried, I had it all trimmed out with simple pine with just a plain clear coat on it. I sort of like its plain, minimalist look.
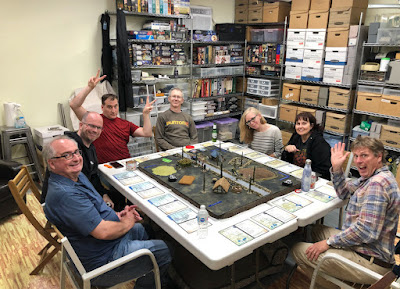
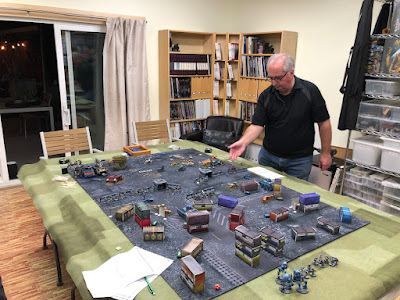
...then I had to celebrate this milestone with a game with friends!
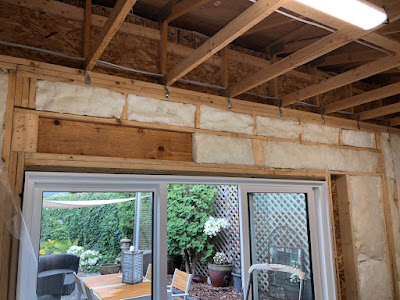
Okay, back to it. For the upper section and roof deck I was lucky enough to negotiate a discounted price to have spray foam installed. I'm glad I did this as I found it really did a great job in sealing and insulating the upper space, and only took about 3 hours to have done. Win!
I'll probably have the ceiling finished in pine tongue-and-groove for a Scandinavian look, but that will be down the road as a late winter project.
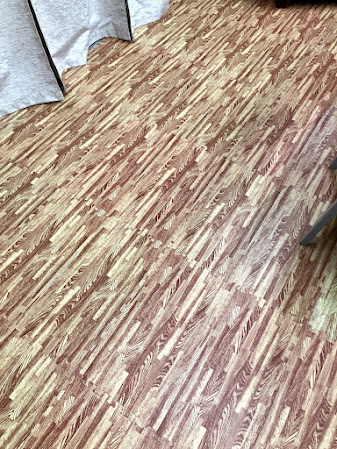
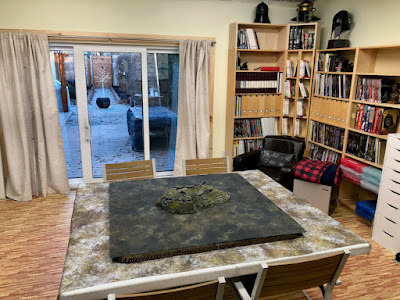
For the flooring, I found these groovy interlocking foam tiles that have a faux wood finish. They were as cheap as borscht (working out to less than a buck per square foot), can be cut to fit corners/edges with a craft blade, and provides a nice, insulated, cushiony surface over the concrete floor.
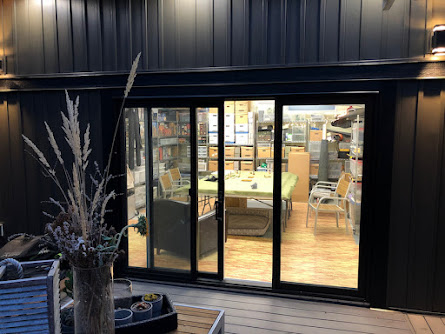
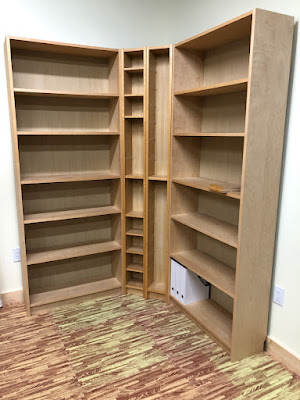
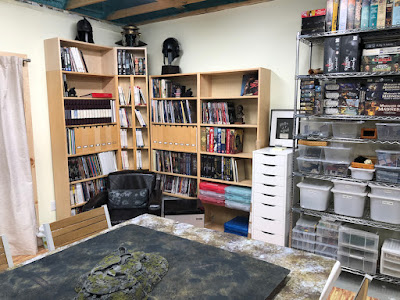
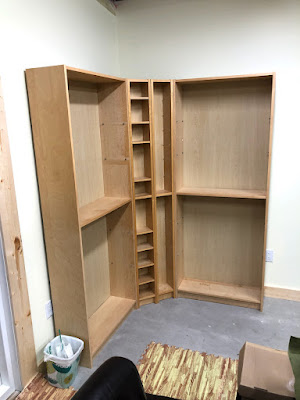
Once that was in, then the real fun stuff started, with the moving in of shelving, along with boxes (and boxes, and boxes) of hobby stuff.
 |
| Billy is your friend. |
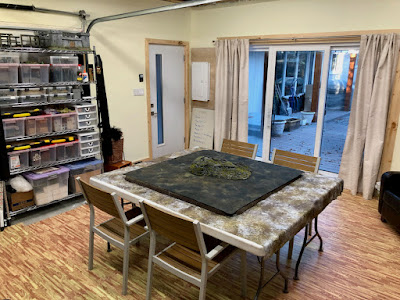
As a recap, the footprint of the space is roughly 350 square feet, with 9 foot high walls (allowing an extra few shelves of storage on all the units). The studio can comfortably accommodate a 6 x 8 gaming table with around 4 feet of floor space around it. So, quite a bit of room to get up and walk about during games without feeling too hemmed in.
There's still lots to tweak and fine-tune (perhaps a bespoke gaming table?), but as you can see with my smug, satisfied smile, I'm very happy with how the whole project came off, and am looking forward to hosting friends to many hours of fun in the future.
Thanks for dropping in folks. I hope you all have a terrific week!
Next up: My minimalist ECW project
- Curt